As more and more people switch to netbooks; the ability to provision Operating Systems and boot iso’s over the network becomes highly useful. It has become quite common to see CD/DVD ROM drives removed altogether in mobile and even some desktop machines.
Installing and booting machines using RouterOS as the bootp/tftp server is quite a simple process if you are familiar with PXE booting, but for those of you who are not, allow me to provide a basic guide along with a preset package for you to try this out yourself.
For now I’ve put together a package that includes a basic PXE boot menu and an Ubuntu netinstall image; all in under 22MB which means it can fit on most any Routerboard model.
To try this out, do the following:
- Download the mt-pxeboot.rar (link fixed!)
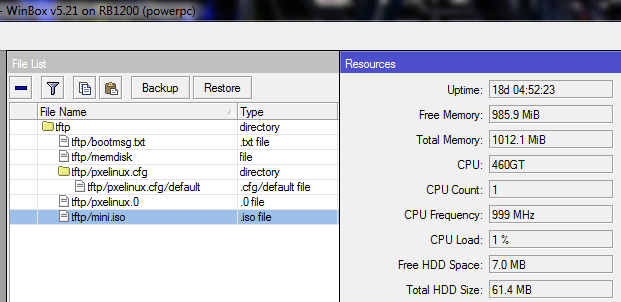
- Unzip the folder and copy the ‘tftp’ folder directly to your routerboard
- Open mt-config.txt, adjust the variables at the top to suit your local network configuration
- Paste the modified config into terminal on your router
- Connect up a machine that has PXE boot support and start it up, selecting option 2 in the pxe menu when prompted
Shown here is the setup script included in the rar:
#First copy the entire tftp directory to your MikroTik root directory #Then edit these variables to suit your local network :global network "192.168.1.0/24" :global router "192.168.1.1" ######################################## # Do not edit below this line # ######################################## #Adding TFTP allowances for the provided range /ip tftp add ip-addresses="$network" real-filename=tftp/pxelinux.0 req-filename=pxelinux.0 add ip-addresses="$network" real-filename=tftp/bootmsg.txt req-filename=bootmsg.txt add ip-addresses="$network" real-filename=tftp/memdisk req-filename=memdisk add ip-addresses="$network" real-filename=tftp/pxelinux.cfg/default req-filename=pxelinux.cfg/default add ip-addresses="$network" real-filename=tftp/mini.iso req-filename=mini.iso #We assume there is an existing DHCP server setup, so just modifying the network config /ip dhcp-server network set [find address="$network"] boot-file-name=pxelinux.0 next-server="$router"Adding the next-server and boot-file options tell your PXE device where to look for files, and the specific boot file to start loading.
Once it has this it can download the files and depending on the configuration, run any number of liveboot or unattended installations.With more complex procedure you can even run up thin clients attached to network storage and so on. In the example you are presented with a menu, the default option allows the machine to continue to boot from disc after 20 seconds while the 2nd option starts the Ubuntu Netinstall image.
Alternatively, TFTP combined with DHCP options can also be used in the provisioning of many networked devices, the most common of which are VoIP phones.
Files:
- mt-pxeboot.rar (21.2MB) – The RouterOS PXE boot package
- tftpd – A standalone windows tftp server and client/dhcp/dns server for testing